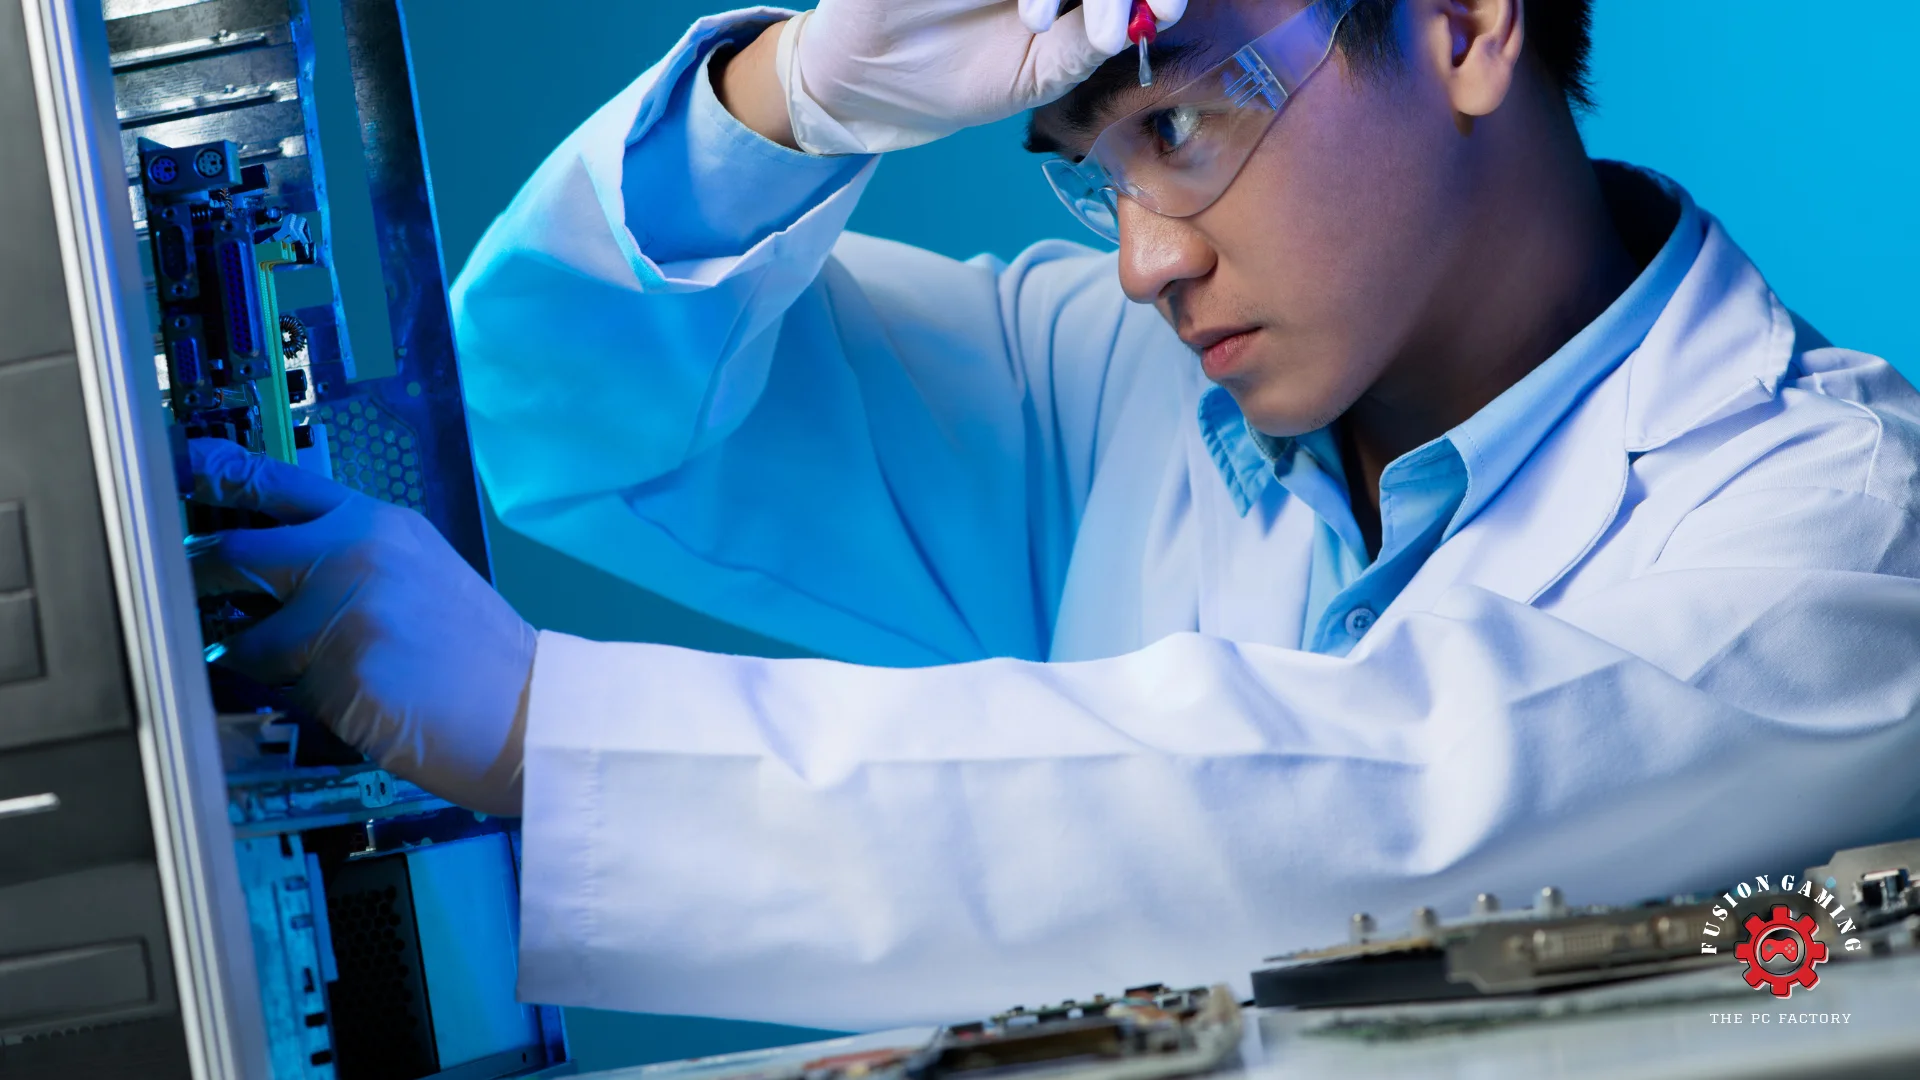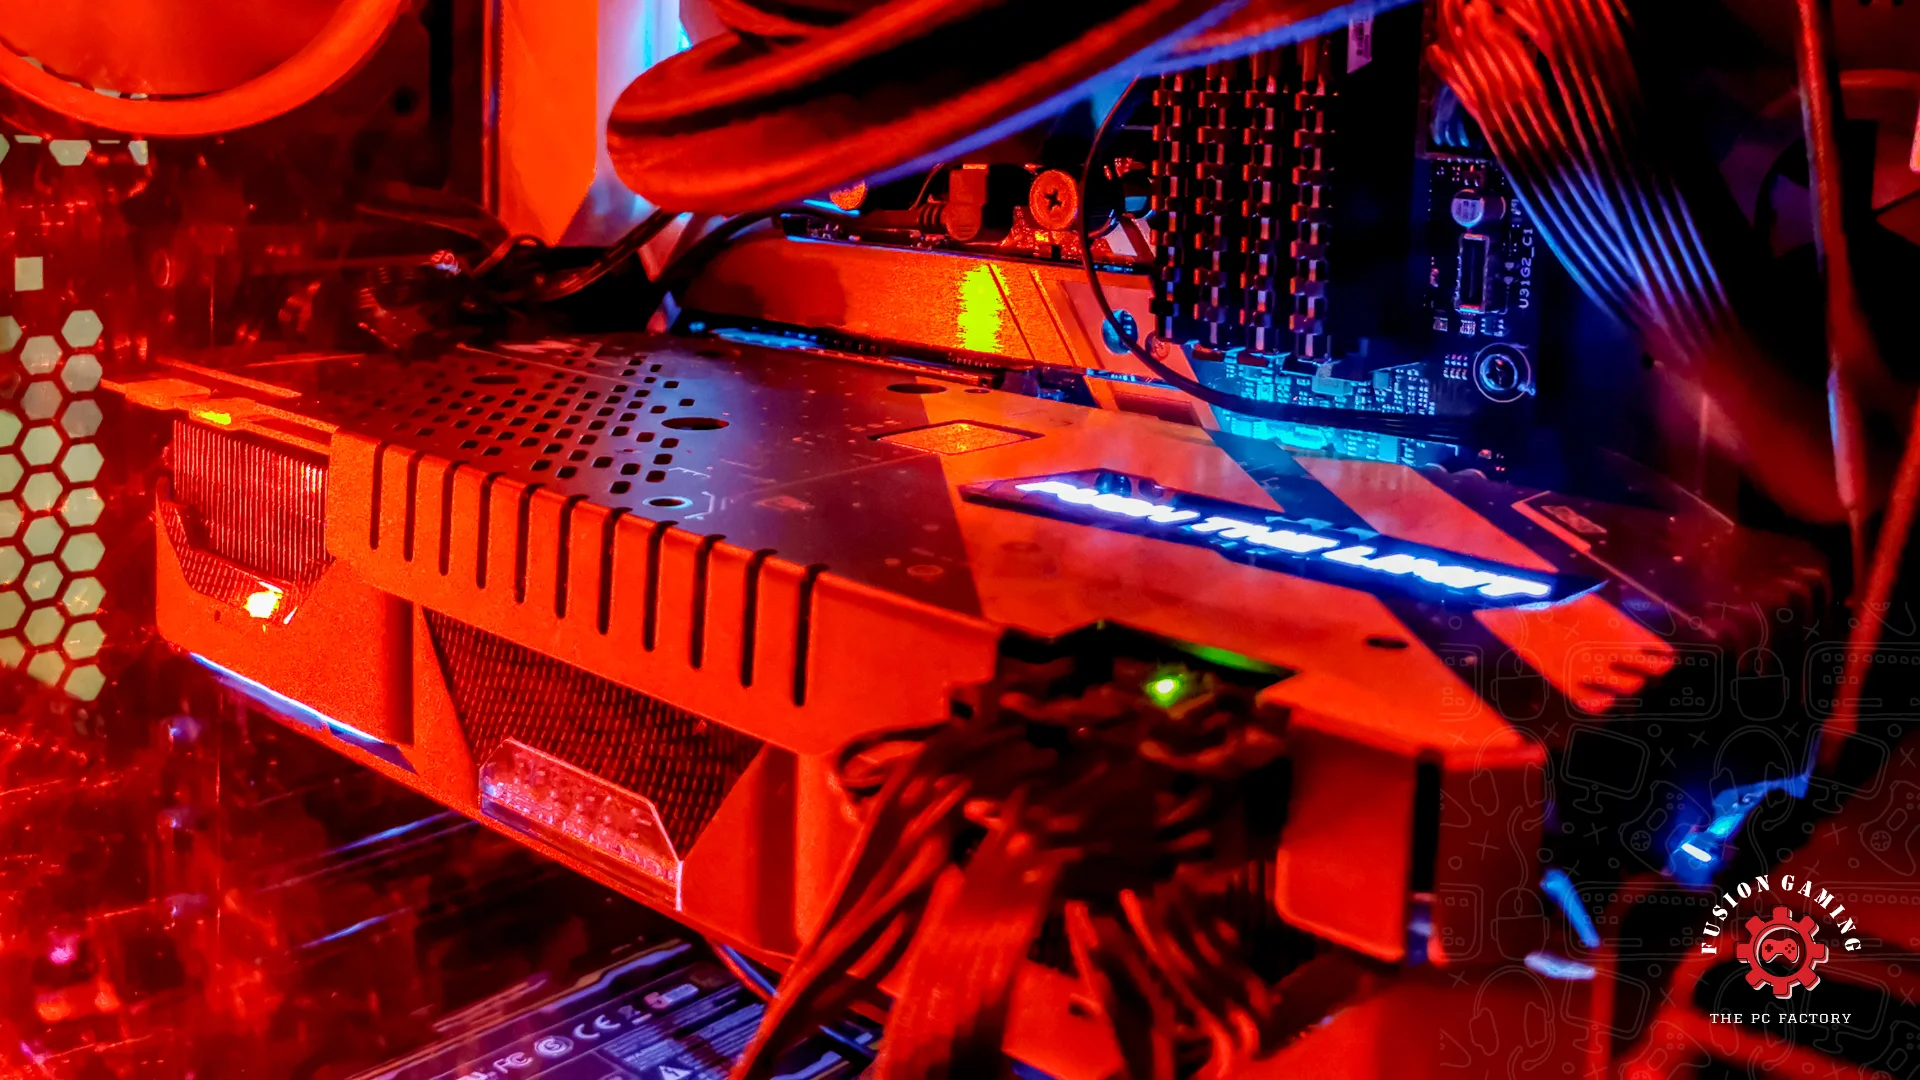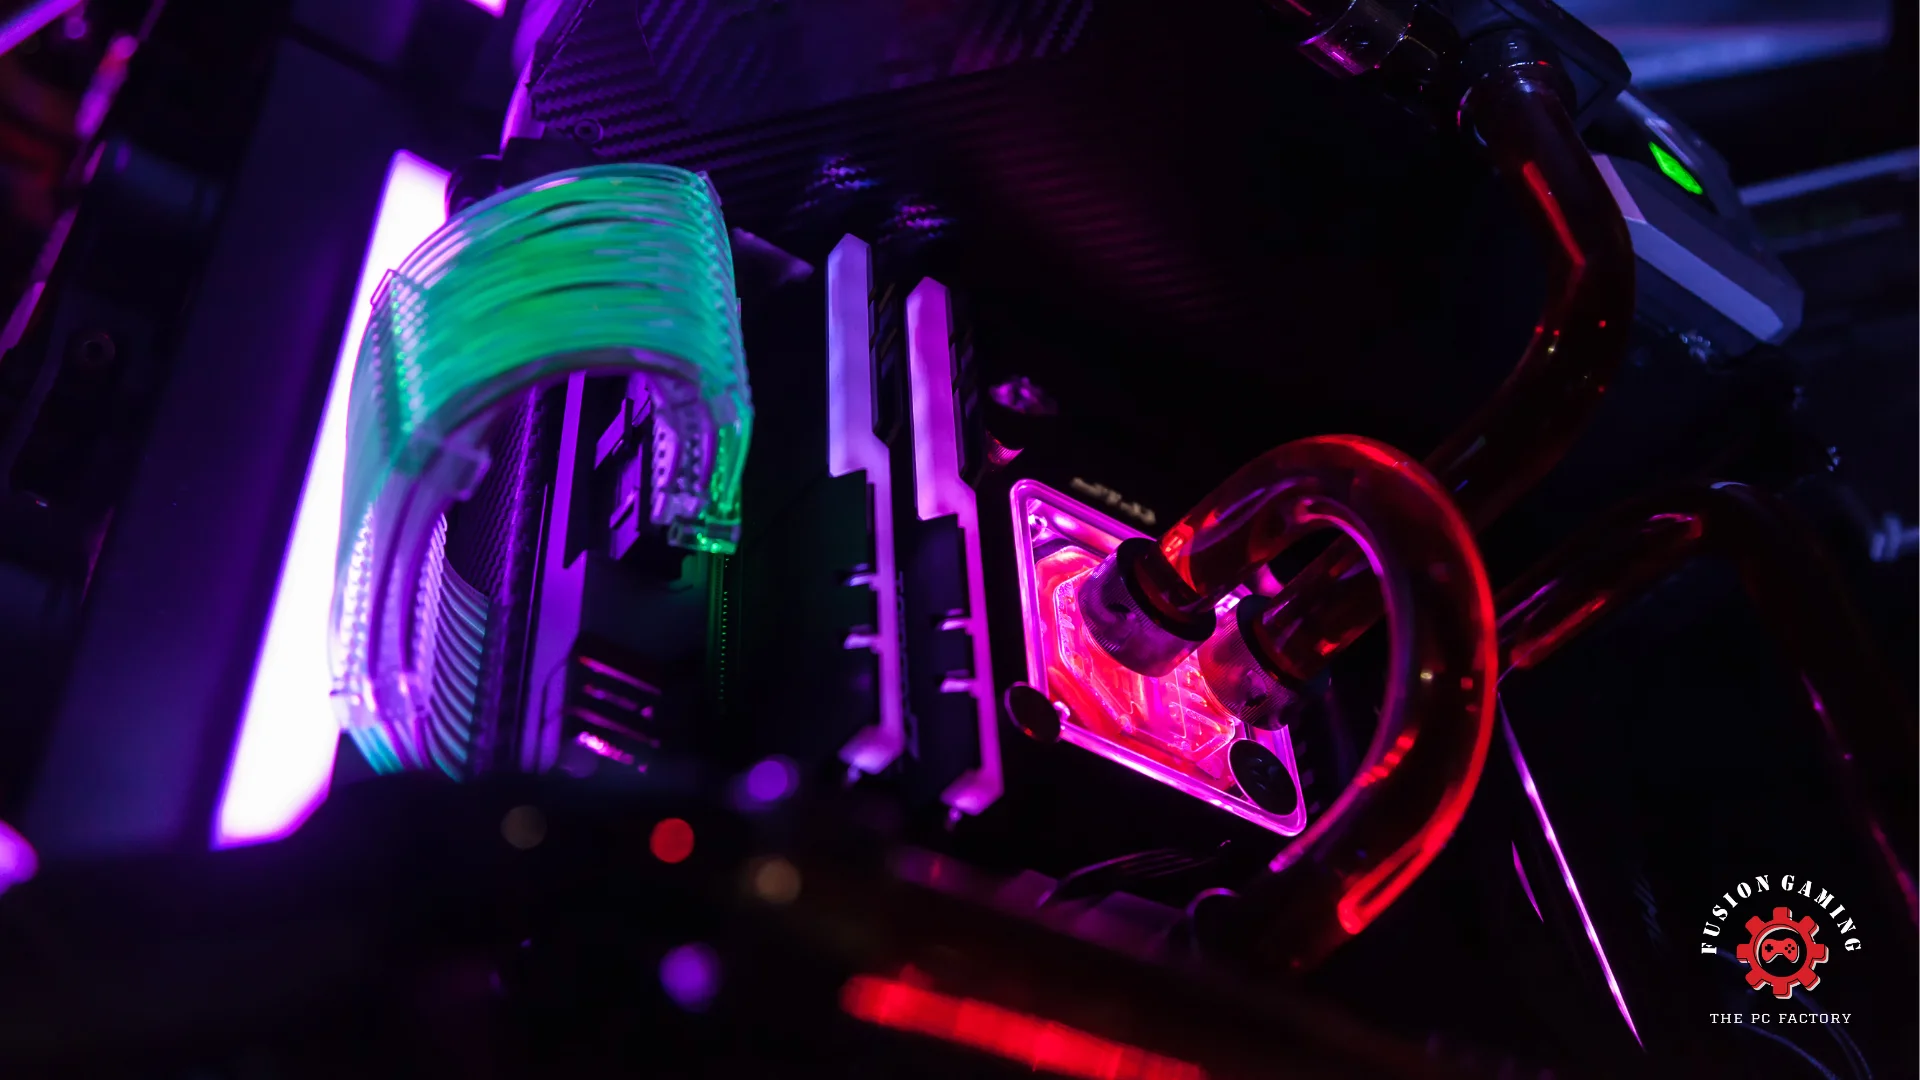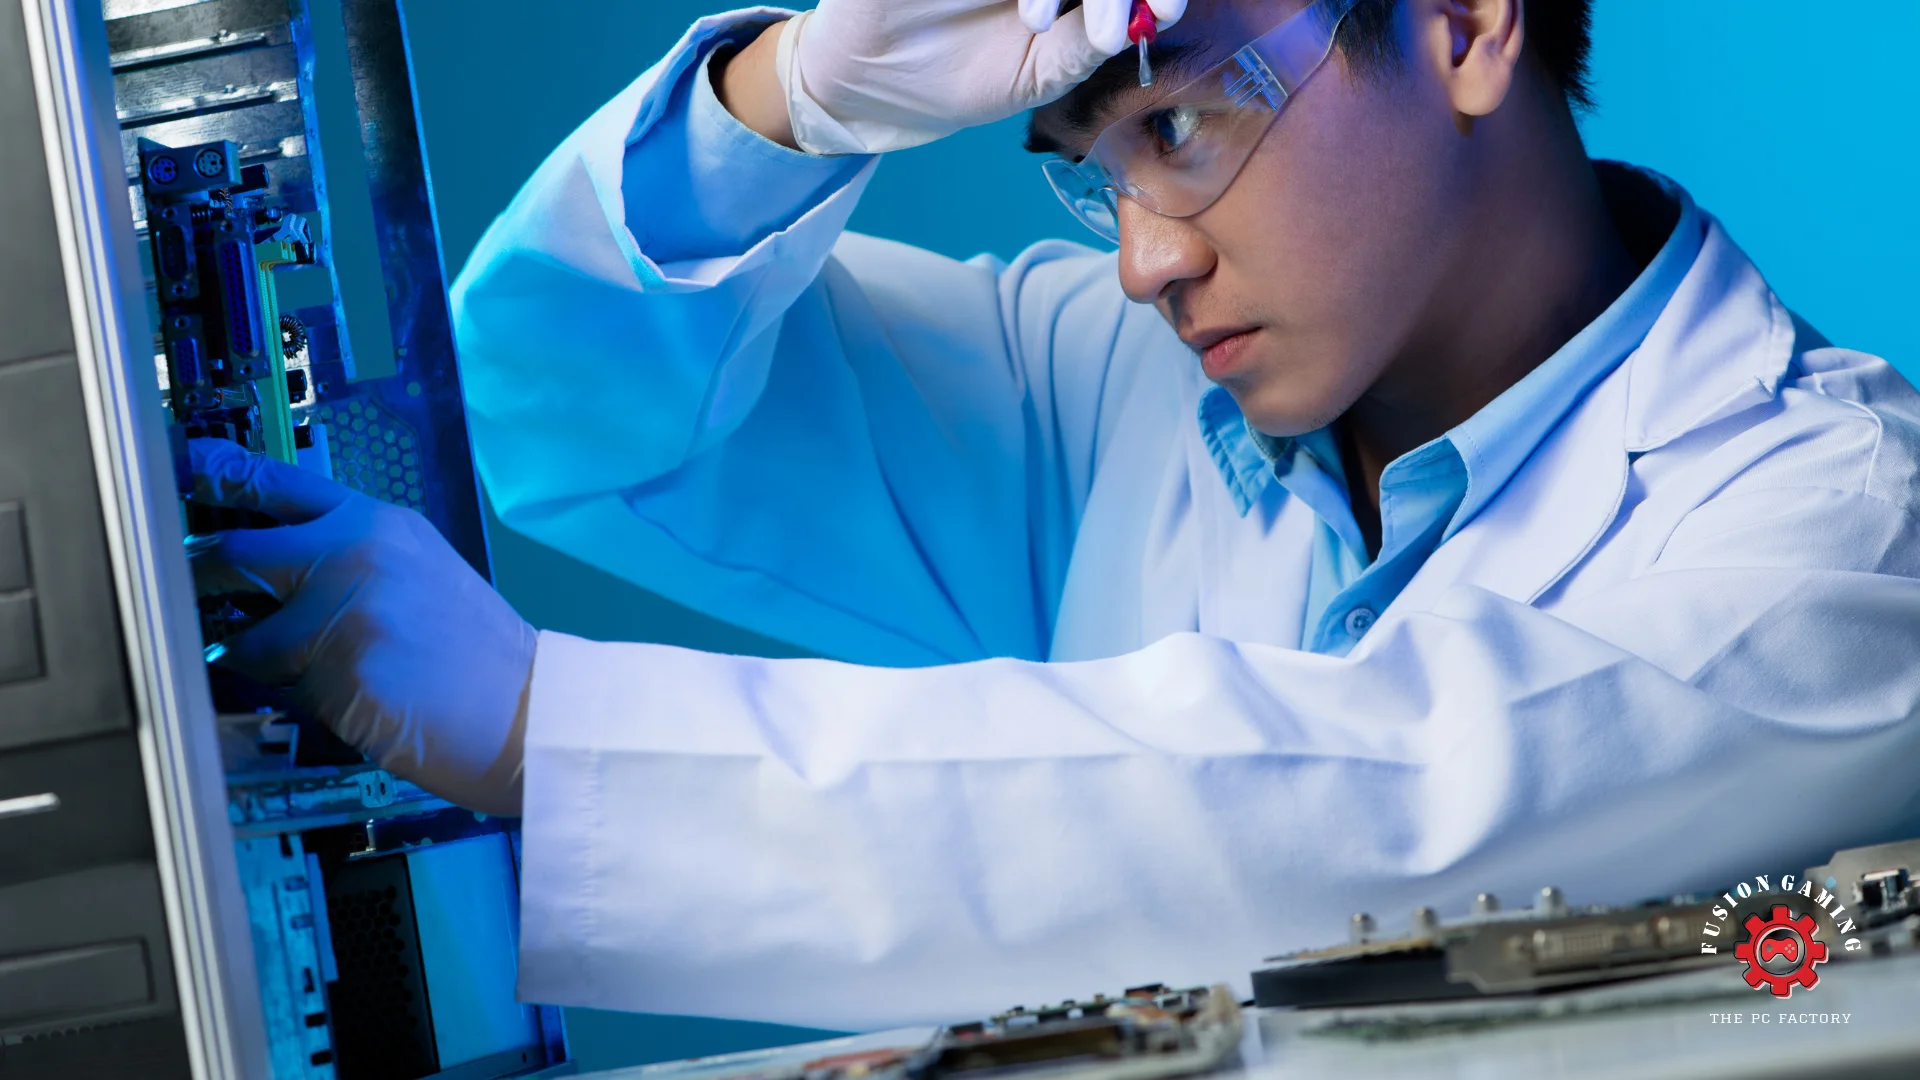
Building your PC can seem daunting, but it’s an incredibly rewarding experience that offers a deeper understanding of how computers work. Plus, it allows you to customize your system to fit your needs. This guide will walk you through the process step-by-step, from selecting the right components to assembling them into a fully functional machine.
Step 1: Choose Your Components
The first step in building your PC is selecting the right components. Here’s a list of the essential parts you’ll need:
- Central Processing Unit (CPU): The brain of your computer. Choose one based on your performance needs and budget.
- Motherboard: The main circuit board houses the CPU, RAM, and other components.
- Memory (RAM): Crucial for multitasking and overall performance.
- Storage: Either an SSD (Solid State Drive), HDD (Hard Disk Drive), or a combination of both.
- Graphics Card (GPU): Important for gaming, video editing, and other graphics-intensive tasks.
- Power Supply Unit (PSU): This unit powers all your components. Make sure it’s reliable and has enough wattage.
- Case: Encloses and protects all your components.
- Cooling System: Keeps your components cool, typically includes case fans and a CPU cooler.
- Peripherals: Monitor, keyboard, mouse, and any other external devices.
Step 2: Prepare Your Workspace
Before you start building, set up a clean, well-lit workspace. Gather all your tools, including a Phillips head screwdriver, an anti-static wrist strap, and a small flashlight. Ensure you’re working on a non-conductive surface to avoid static electricity damage.
Step 3: Install the CPU
- Open the Motherboard Box: Remove the motherboard and place it on an anti-static surface.
- Insert the CPU: Lift the CPU socket lever and carefully align the CPU with the socket (there’s usually a triangle marker to help with alignment). Place the CPU into the socket and lower the lever to secure it.
Step 4: Install the RAM
- Locate the RAM Slots: These are typically located near the CPU socket.
- Insert the RAM: Open the latches on the RAM slots. Align the RAM module with the slot and press down firmly until the latches click into place.
Step 5: Install the Motherboard into the Case
- Prepare the Case: Remove the side panels and any pre-installed components.
- Install the I/O Shield: This metal plate fits over the motherboard’s ports. Snap it into the back of the case.
- Mount the Motherboard: Align the motherboard with the standoffs in the case. Use screws to secure the motherboard in place.
Step 6: Install the Power Supply
- Position the PSU: Place the PSU in its designated area, usually at the bottom or top of the case.
- Secure the PSU: Use screws to secure the PSU to the case.
- Connect Power Cables: Connect the main power cable to the motherboard and the CPU power cable to the appropriate connector.
Step 7: Install Storage Drives
- Mount the Drives: Secure your SSD or HDD in the designated drive bays using screws or tool-less mounts.
- Connect Cables: Attach SATA cables from the drives to the motherboard. Connect power cables from the PSU to the drives.
Step 8: Install the GPU
- Open the PCIe Slot: Remove the back panel covers from the case where the GPU will be mounted.
- Insert the GPU: Align the GPU with the PCIe slot on the motherboard and press down firmly until it clicks into place.
- Secure the GPU: Use screws to secure the GPU to the case.
Step 9: Connect the Case Wires
- Front Panel Connectors: Connect the power button, reset button, and LED indicators to the appropriate motherboard headers.
- USB and Audio Connectors: Connect the front panel USB and audio connectors to the corresponding headers on the motherboard.
Step 10: Install the Cooling System
- CPU Cooler: If you have an aftermarket cooler, follow the manufacturer’s instructions to install it. If you’re using the stock cooler, it typically clips or screws onto the motherboard.
- Case Fans: Install any additional case fans to improve airflow.
Step 11: Double-Check Your Connections
Go through all the components and connections to ensure everything is securely connected and properly seated.
Step 12: Power On and Install the Operating System
- Power On: Plug in your PC, connect it to a monitor, keyboard, and mouse, and press the power button. If everything is connected correctly, your PC should boot up.
- BIOS/UEFI Setup: Enter the BIOS/UEFI setup to configure settings and ensure all components are recognized.
- Install the OS: Insert your operating system installation media (USB or DVD) and follow the on-screen instructions to install the OS.
Conclusion
This process saves you money and gives you the flexibility to upgrade and customize your system in the future. Enjoy the satisfaction of using a machine you built with your own hands and the enhanced performance tailored to your needs.